Anodizer 220V

The Anodizer your studio needs!

  • The power to create scintillating colors, run larger baths and precise control.
  • It is the right power supply for both one of a kind and production anodizing of body jewelry.
  • Full digital voltage and amperage meters. 0 to 120 Volts.
  • Extremely fine controls for more color options, and more precision.
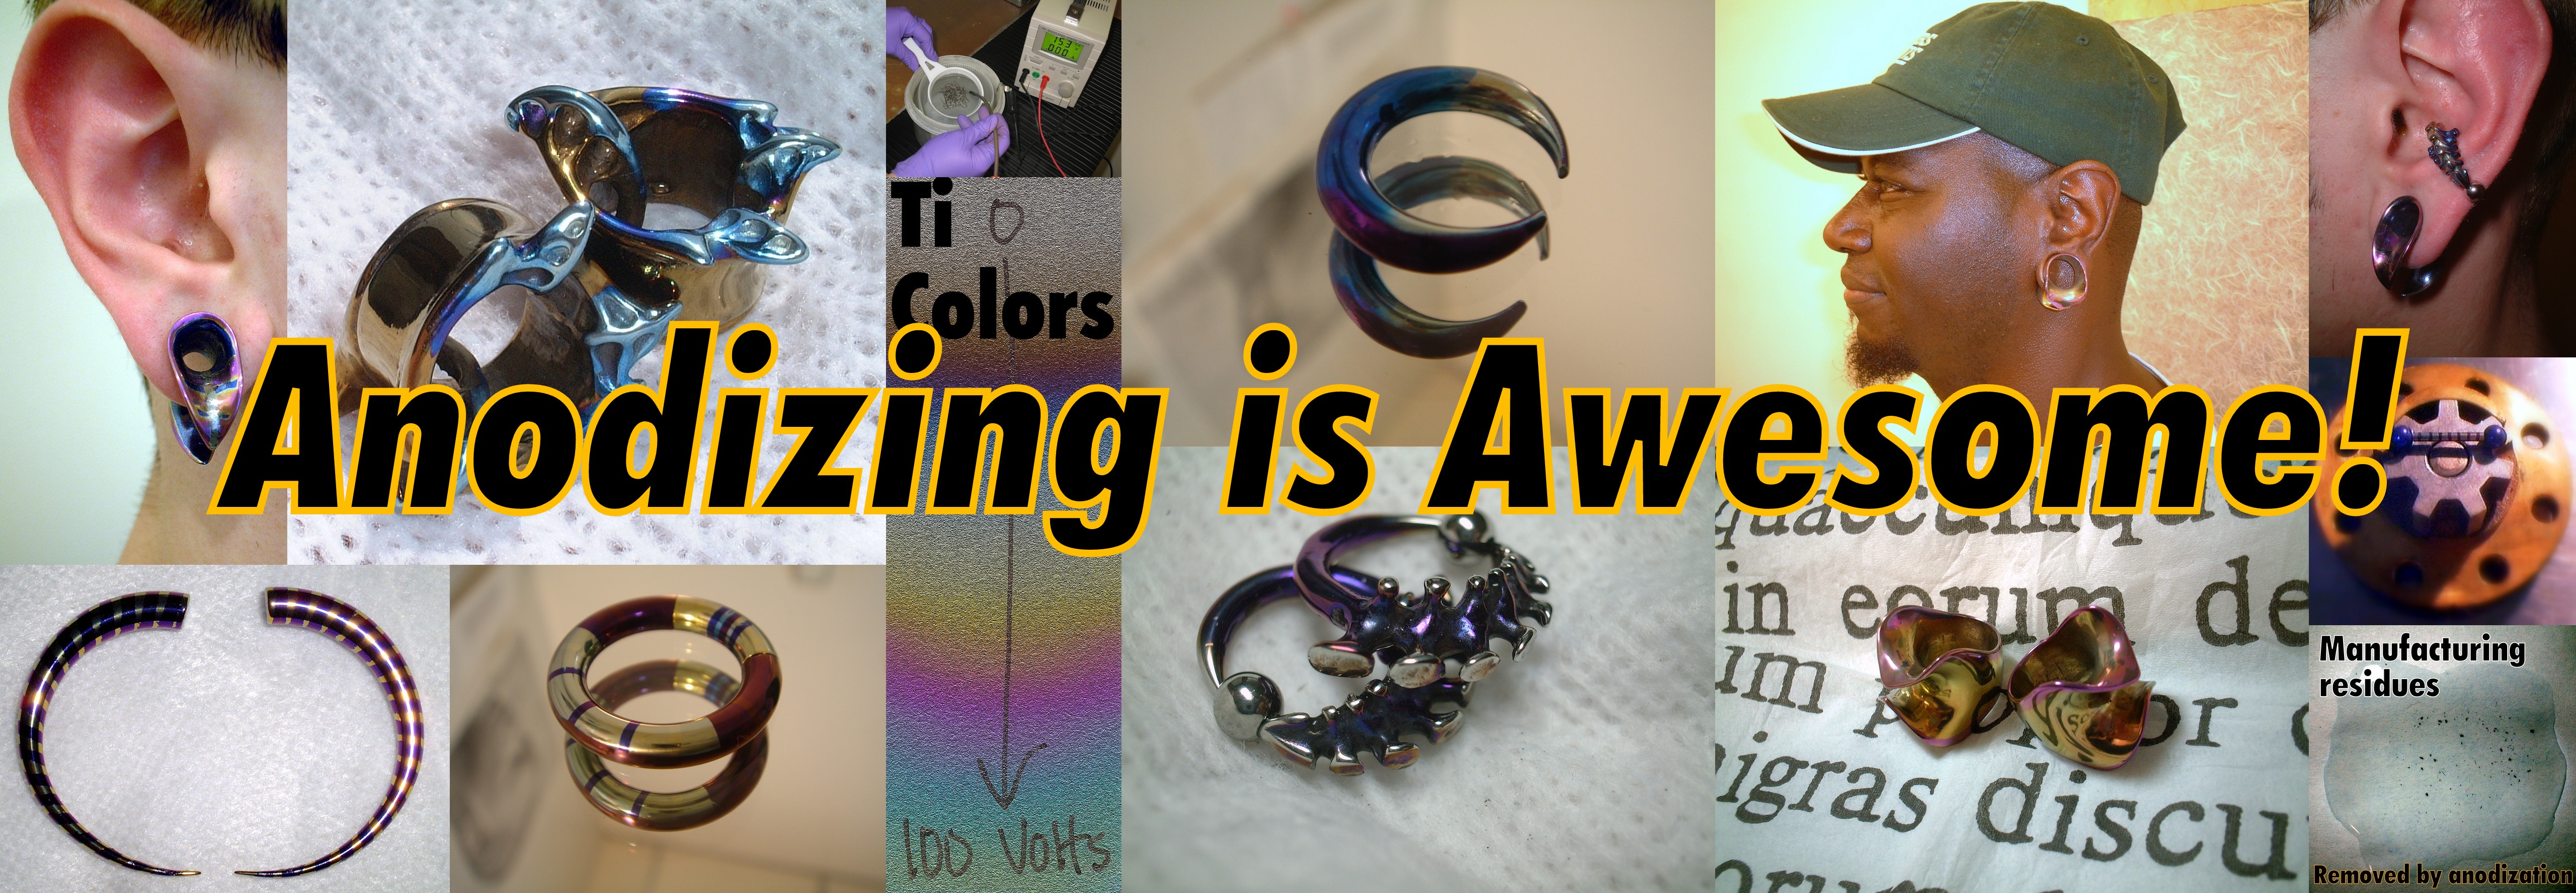
  • Anodizing titanium parts such as jewelry before sterilization and wear renders the surface smoother and passive.
  • The anodization process removes microscopic particulate matter that would otherwise be missed by acid or alkaline cleaning, solvents, steam and ultrasonic methods. [Reference – ASTM F86 standard method for surface finish and passivation]
  • This anodizer kit includes two sets of color coded leads, one plastic mesh basket, one stainless steel cathode, electrolyte and full instructions and support.
  • In addition, Brian Skellie‘s body art specific instruction, tips and tricks gathered over two decades of experience to color and passivate titanium and niobium body jewelry with safe and artistic effects.

In USA? Order 110V units from us at statim.us/anodizer

StatDri Plates

01-103935
117,75 €
Pre-order
1
Product Details
Marque: SciCan
Model: 5000S

Stat-Dri Plates (package of 5 plates)

*Dramatically shortens drying time

  • Up to ten attach to the Statim 5000 unwrapped rack.

    4.3 Statim 5000 — STAT-DRI Plates

    The Statim 5000 cassette uses STAT-DRI plates to enhance the drying process for wrapped instruments. The adjustable plates are designed for the unwrapped instruments rack and eliminate the need for a separate wrapped instrument rack. Up to ten plates can be arranged along the length of the rack. Each unit is shipped with five STAT-DRI plates. Additional plates may be ordered from SciCan (SciCan part number 01-103935)

    To install and adjust a STAT-DRI plate, follow these steps:

  1. Hold a plate over the desired position, tilted slightly forward with the tabs down.
  2. Insert the tabs between the mesh of the unwrapped instrument rack.
  3. Each tab has an elongated slot. Slide the plate until the wire is at the end of each slot.
  4. Release the plate to the resting position.
  5. Prepare and load instruments for sterilization.
Save this product for later