The Anodizer your studio needs!
- The power to create scintillating colors, run larger baths and precise control.
- It is the right power supply for both one of a kind and production anodizing of body jewelry.
- Full digital voltage and amperage meters. 0 to 120 Volts.
- Extremely fine controls for more color options, and more precision.
- Anodizing titanium parts such as jewelry before sterilization and wear renders the surface smoother and passive.
- The anodization process removes microscopic particulate matter that would otherwise be missed by acid or alkaline cleaning, solvents, steam and ultrasonic methods. [Reference – ASTM F86 standard method for surface finish and passivation]
- This anodizer kit includes two sets of color coded leads, one plastic mesh basket, one stainless steel cathode, electrolyte and full instructions and support.
- In addition, Brian Skellie‘s body art specific instruction, tips and tricks gathered over two decades of experience to color and passivate titanium and niobium body jewelry with safe and artistic effects.
In USA? Order 110V units from us at statim.us/anodizer
Preventative Maintenance
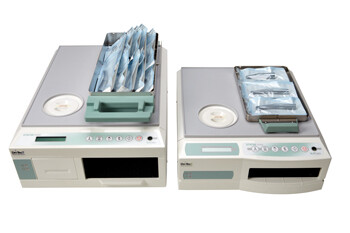
General StatIM Preventative Maintenance:
Preventative Maintenance Schedule To ensure trouble-free performance, both the operator and the dealer must follow a preventative maintenance schedule.
NOTE: Please refer to your National, Regional, State or Safety laws for any additional reoccurring user testing that may be required.
Operator |
||
Daily |
Water Reservoir |
• Replace water as needed. • For opthalmic use, drain at the end of every workday, leave empty, and refill at the start of the next workday. |
| Waste Bottle |
• Empty the waste bottle every time you refill the water reservoir. • Fill the bottle with water, up to the MIN line marking. You may also add some chlorine-free disinfectant. |
|
Weekly |
Cassette |
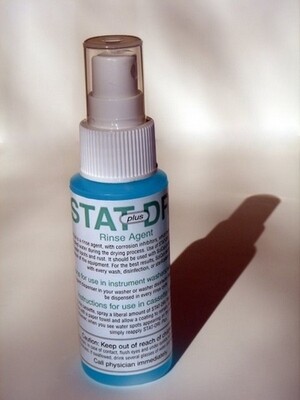
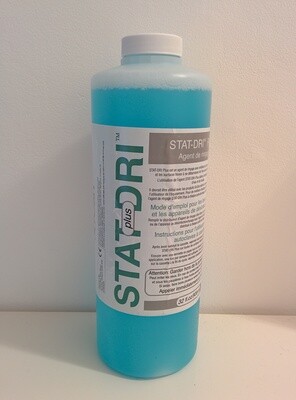
• Wash the interior of the cassette with dishwashing soap or a mild detergent that does not contain chlorine. • Scrub the inside with a cleaning pad designed for use with Teflon™-coated surfaces. • After removing all traces of the detergent, treat interior surfaces of the cassette with the STAT-DRI™Plus drying agent to enhance the drying process. Order more STAT-DRI™ Plus from your dealer quoting 2OZPLUS, 8OZPLUST, or 32OZPLUS |
|
Biological and/or Air Filter |
• Check the filter for dirt and moisture. Replace if dirty. Call for service if wet. | |
|
Water Filter |
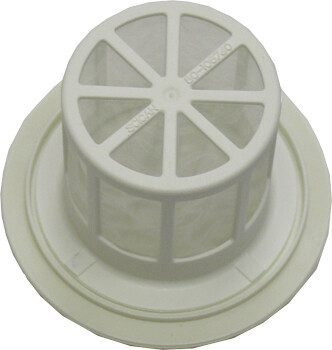
• Check the water reservoir filter every week and clean if necessary. Replace only if necessary. | |
Every 6 months |
Cassette Seal | • Replace every 500 cycles or six months (whichever is first), or whenever necessary. |
| Biological and/or Air Filter | • Replace every 500 cycles or six months (whichever is first). | |
Technician |
||
Once a year |
Cassette |
• Check the tray, lid and seal for damage. Replace if necessary. |
|
Biological Filter |
• Inspect the biological filter for moisture. | |
|
Solenoid Valve |
• Inspect the valve and clean if dirty. Replace the plunger if defective. | |
|
Pump |
• Clean the filters, replace if dirty. | |
|
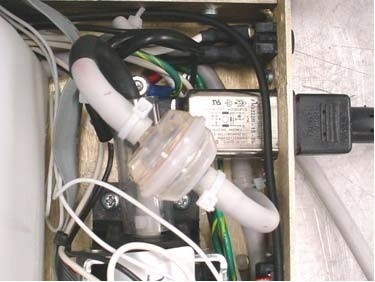
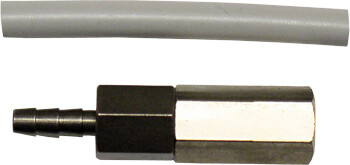
Check Valve |
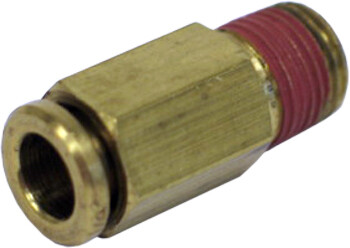
• Remove the exhaust tube from the back of the unit during the air drying phase. Check for air coming from the fitting. • Remove the air compressor tube from the check valve inlet while running a cycle. Make sure no steam is leaking from the valve. Replace if there are any leaks. |
|
|
Water Reservoir |
• Check the reservoir for dirt. Clean and rinse with steam process distilled water if necessary. | |
|
Calibration |
• Calibrate the unit. | |




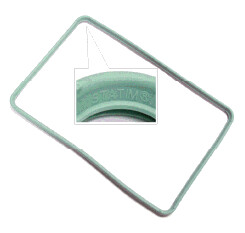
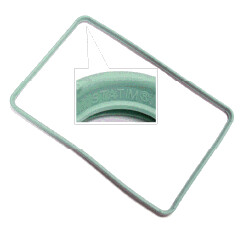
![Air Compressor filter [foam donut] Air Compressor filter [foam donut]](https://d2j6dbq0eux0bg.cloudfront.net/images/799173/1404497613.jpg)
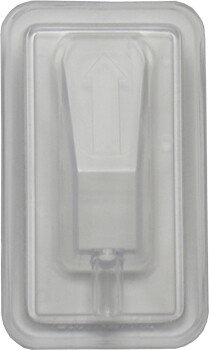
![STATIM 2000 Sterilization Cassette [parts available separately] STATIM 2000 Sterilization Cassette [parts available separately]](https://d2j6dbq0eux0bg.cloudfront.net/images/799173/1404432879.jpg)
![STATIM 5000 Sterilization Cassette [parts available separately] STATIM 5000 Sterilization Cassette [parts available separately]](https://d2j6dbq0eux0bg.cloudfront.net/images/799173/1404599309.jpg)
